[XR-Frame]微信小程序XR简单踩坑记录
前言
工作中需要写一个微信小程序,利用XR-Frame框架展示模型,由于先前没有接触过threejs,知识储备匮乏,只能通过官方文档进行学习,记录踩坑历程
项目初始化
mockdata
先准备好测试用的虚拟数据
1
2
3
4
5
6
7
8
9
10
11
12
13
14
15
16
17
18
19
20
21
22
23
24
25
26
27
28
29
| export const mockData = [
{
id: "miku",
image: "/assets/tencent.jpg",
model:
"https://mmbizwxaminiprogram-1258344707.cos.ap-guangzhou.myqcloud.com/xr-frame/demo/miku.glb",
scale: [0.08, 0.08, 0.08],
rotation: [0, 180, 0],
position: [0, 0, 0],
},
{
id: "lifangti",
image: "/assets/lanqiu.jpg",
model: "/assets/box.glb",
scale: [0.6, 0.6, 0.6],
rotation: [0, 0, 0],
position: [0, 0, 0],
},
{
id: "helmet",
image: "/assets/beizi.jpg",
model:
"https://mmbizwxaminiprogram-1258344707.cos.ap-guangzhou.myqcloud.com/xr-frame/demo/damage-helmet/index.glb",
scale: [0.3, 0.3, 0.3],
rotation: [0, 0, 180],
position: [0, 0, 0],
},
];
|
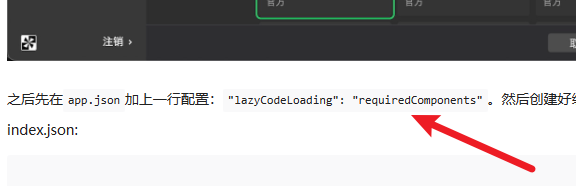
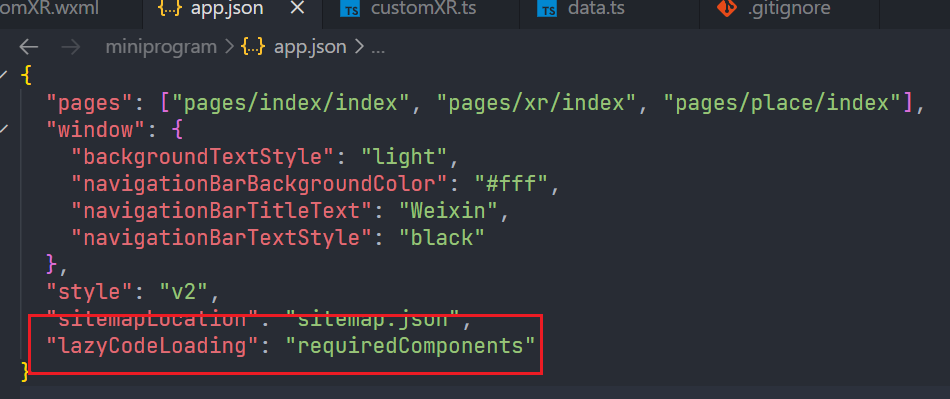
app.json
在创建项目时,一定要记得在app.json加上一行配置:"lazyCodeLoading": "requiredComponents",非常容易忽视。
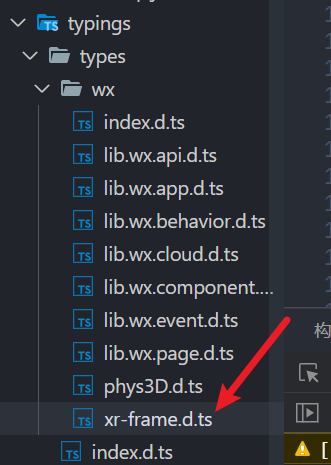
TS类型提示
如果使用了TS,那么会发现新创建的项目中所有的api都是没有类型提示的,但是在微信官方的demo中却有,只需要将官方demo中的类型声明文件复制到我们自己的项目中即可。
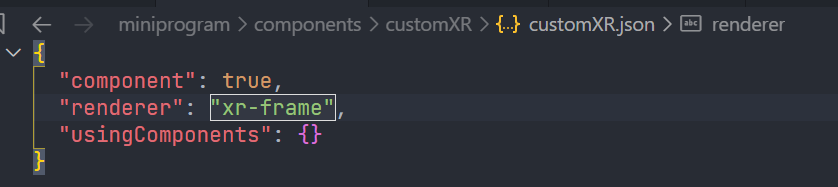
component.json
在组件中,也要设置renderer为xr-frame。
组件使用
此处文档中在使用组件xr-start时,传入了width和height,区别于style中的width和height,作为props的宽高决定了渲染的宽高,可以理解为分辨率,此处的宽高越大,渲染出来的精细度越高,反之,越低就越糊。

编写组件
wxml
文档中已经明确指出,模板中只能存在一个<xr-scene></xr-scene>标签。
像光源、摄像机等基础概念文档中已有描述,在此不再赘述。
Element 与 Component
XR-Frame中有很多的元素Element,Element下面会挂载很多的Component,具体功能的实现都是靠Component
创建Element:
1
2
| const xrFrameSystem = wx.getXrFrameSystem();
scene.createElement(xrFrameSystem.XRNode);
|
xrFrameSystem.XRNode中的XRNode就是一个元素,所有以XR开头的都是元素,例如XRARTracker、XRGLTF等
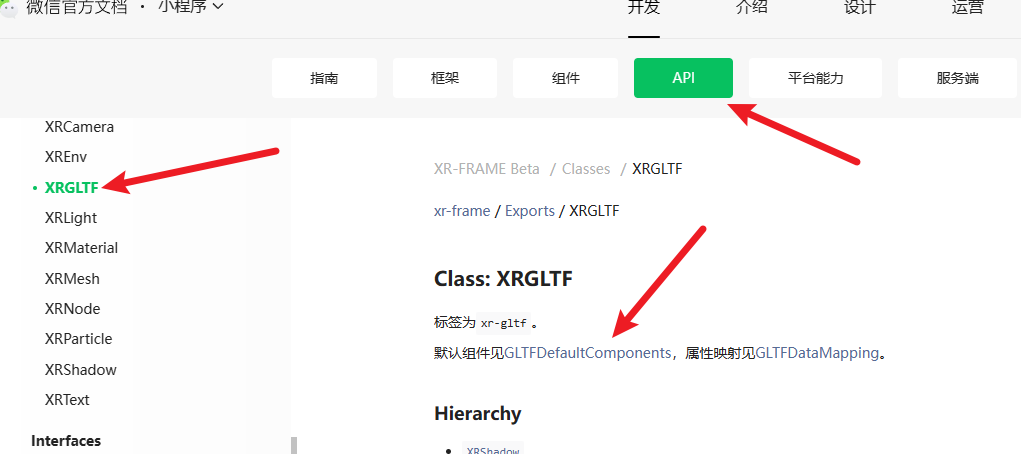
创建一个Element后,会有默认挂载的Component,可以通过API文档查询到
Class: XRGLTF | 微信开放文档 (qq.com)
增加、删除Component:
1
2
| Element.addComponent(xrFrameSystem.xxx,{...options})
Element.removeComponent(xrFrameSystem.xxx)
|
动态载入资源
资源系统 | 微信开放文档 (qq.com)
1
2
3
4
5
6
| scene.assets.loadAsset({
type: "gltf",
assetId: i.id,
src: i.model,
options: {},
});
|
多个ARTracker
通过ARTracker可以识别图像,demo中通过在wxml中添加标签的方式添加ARTracker,优点是方便易懂,但是不能动态添加,往往我们需要根据后端返回的数据,动态添加ARTracker
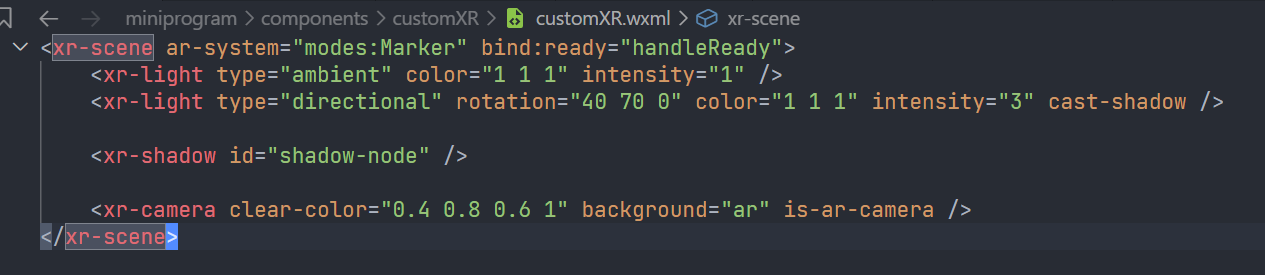
想要在xr-frame中添加元素,必须要用到**shadow-node**
1
2
3
4
5
6
7
8
| <xr-scene ar-system="modes:Marker" bind:ready="handleReady">
<xr-light type="ambient" color="1 1 1" intensity="1" />
<xr-light type="directional" rotation="40 70 0" color="1 1 1" intensity="3" cast-shadow />
<xr-shadow id="shadow-node" />
<xr-camera clear-color="0.4 0.8 0.6 1" background="ar" is-ar-camera />
</xr-scene>
|
先在页面中准备好一个shadow-node,设置好id,然后通过js获取
1
2
| const xrFrameSystem = wx.getXrFrameSystem();
const shadow = scene.getElementById("shadow-node");
|
然后通过循环创建ARTracker,并添加到shadow-node下即可
1
2
3
4
5
| const arTracker = scene.createElement(xrFrameSystem.XRARTracker, {
mode: "Marker",
src: i.image,
});
shadow.addChild(arTracker);
|
绑定了识别图像后,还需要绑定识别成功后显示的模型,我这里使用xr-node作为模型挂载的节点,大家可以吧xr-node理解成div
1
2
3
4
5
6
7
8
9
10
11
12
13
14
15
16
17
18
19
20
21
22
23
24
25
| const node = scene.createElement(xrFrameSystem.XRNode);
arTracker.addChild(node);
const nodeComp = node.getComponent(xrFrameSystem.Transform);
nodeComp.setData({ nodeId: i.id });
nodeComp.scale.setArray(i.scale);
nodeComp.position.setArray(i.position);
nodeComp.rotation.setArray(i.rotation);
const gltfElement = scene.createElement(xrFrameSystem.XRGLTF);
node.addChild(gltfElement);
const gltfComp = gltfElement.getComponent(xrFrameSystem.GLTF);
gltfComp.setData({
model: scene.assets.getAsset("gltf", i.id),
});
gltfElement
.getComponent(xrFrameSystem.Animator)
.setData({ autoPlay: {} });
|
到这里需要识别的图像和识别成功后对应展示的模型已经绑定好了,笔者这里还有额外的需求,即点击对应模型,弹出模型展示页,因此需要增加和模型的交互。这里有一个大坑。
添加模型交互
要给模型添加交互,需要先给模型加上体积,并绑定事件
1
2
3
4
5
6
7
| gltfElement.addComponent(xrFrameSystem.CubeShape, {
autoFit: true,
});
gltfComp.el.event.add("touch-shape", () => {
this.triggerEvent("onModelTapped", i.id);
});
|
放置模型
开始 | 微信开放文档 (qq.com)
原理大同小异,也是通过shadow-node添加元素即可。记得添加node时要先将visible设置为false
1
2
3
4
5
6
7
8
9
10
11
12
13
14
| const xrFrameSystem = wx.getXrFrameSystem();
const shadow = scene.getElementById("shadow-node");
const node = (this.data.node = scene.createElement(xrFrameSystem.XRNode, {
visible: "false",
}));
shadow.addChild(node);
const gltfElement = scene.createElement(xrFrameSystem.XRGLTF);
node.addChild(gltfElement);
const gltfComp = gltfElement.getComponent(xrFrameSystem.GLTF);
gltfComp.setData({ model: loadedAsset });
gltfElement.getComponent(xrFrameSystem.Animator).setData({ autoPlay: {} });
|
点击放置时,会触发placeHere方法,后面的true就是将上面的visible: "false"中的visible设置为了true
1
2
3
| this.data.scene.event.add("touchstart", () => {
this.data.scene.ar.placeHere(this.data.node, true);
});
|
node-id在哪设置
找了好大一圈才知道,nodeId是要在xrFrameSystem.Transform这个Component中设置的。
通过这个组件设置的值可以在文档中查到,但是非常难找到
后记
微信的这个框架目前还处于beta状态,网上相关的资料也少,文档的描述个人感觉还是比较难懂的,希望笔者的文章能给大家带来一点帮助。